

How To Draw A Lion Head Step By Step
With its flowing mane and thundering roar, it'due south no wonder that the lion is called the "male monarch of the jungle." Mufasa from The King of beasts King and Aslan from The Chronicles of Narnia are just two magnificent felines that have permeated our pop civilisation, enchanting many immature artists and writers with their enviable prowess. Whether you're a skilful creature drawer, or just starting out, it'south never likewise late to tap into your wild side and draw a lion you can exist proud of.
In this tutorial, we will go through the steps of drawing a portrait of a noble male king of beasts. Desire to give it a go? Then put The Lion King soundtrack on speaker and catch your cartoon supplies—information technology's time to draw a king of beasts!
Learn how to depict a lion footstep by step
Information technology's skillful practice to do a bit of enquiry earlier get-go any drawing. Since we're drawing a lion head from the forepart, you can peruse online for a photo that clearly shows the big cat'south face. You'll desire to brand sure that y'all have a practiced view of its features with no obstructions (e.chiliad. people, other animals, foliage). Additionally, you can search for a few different examples of panthera leo manes to inspire how you lot want to draw yours.
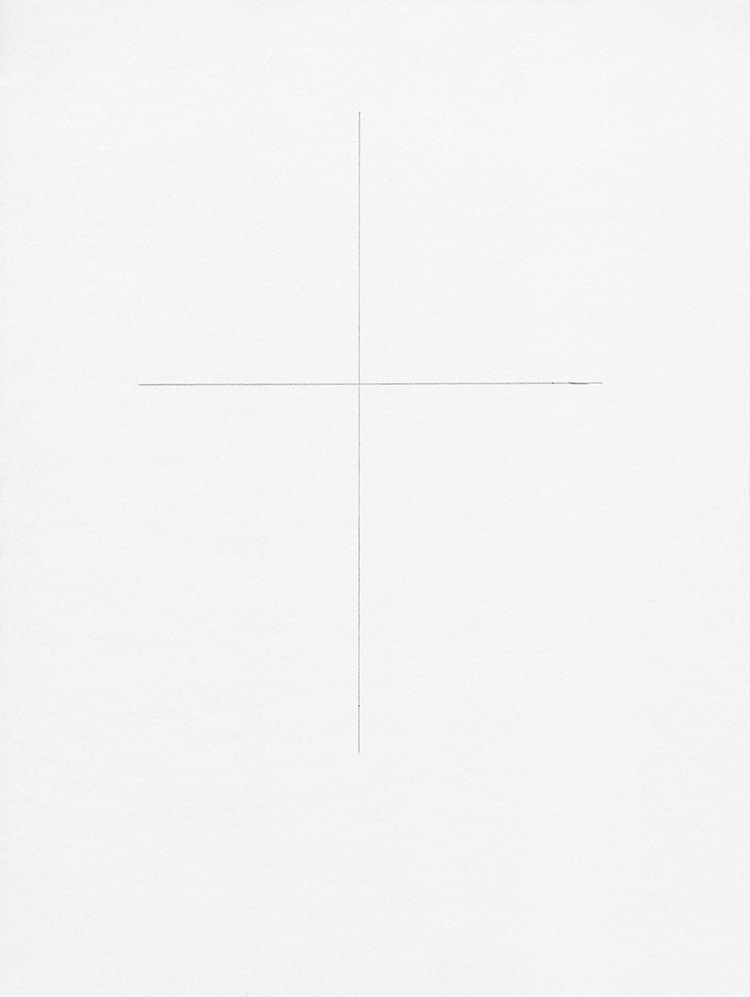
Footstep 1: Make guidelines for the head
Fine art: Margherita Cole | My Modern Met
When cartoon a king of beasts head from the front, it's key to brand his facial features as balanced as possible. Therefore, earlier you lot first cartoon, consider placing a t-shaped guideline made of one vertical and one horizontal line. You tin can do this freehand or, for more than precise lines, with the assist of a ruler.
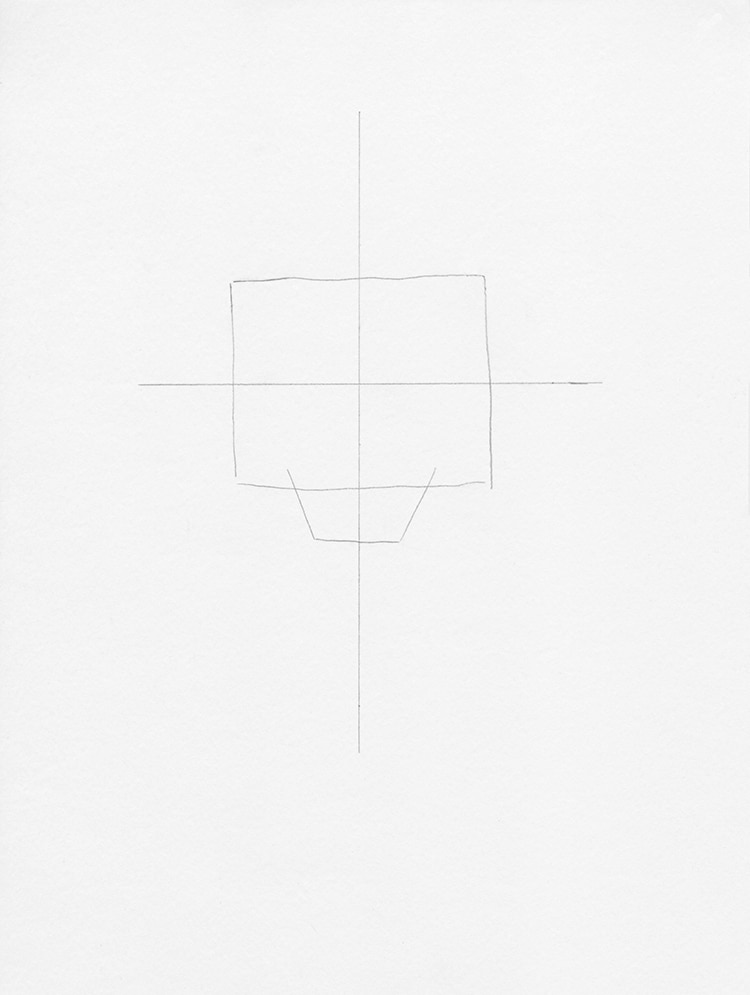
Once the lines are in place, you tin sketch a square at the eye—this will be the lion's caput. At the bottom of the square, add a protruding one-half-trapezoid shape for the lion's snout.
Art: Margherita Cole | My Mod Met
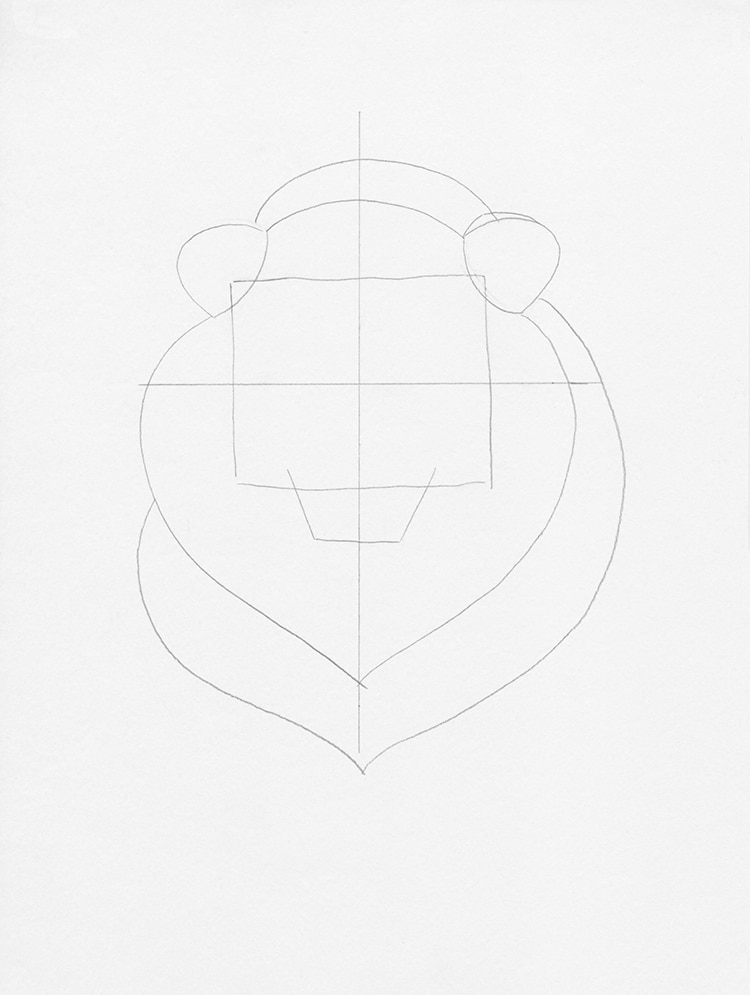
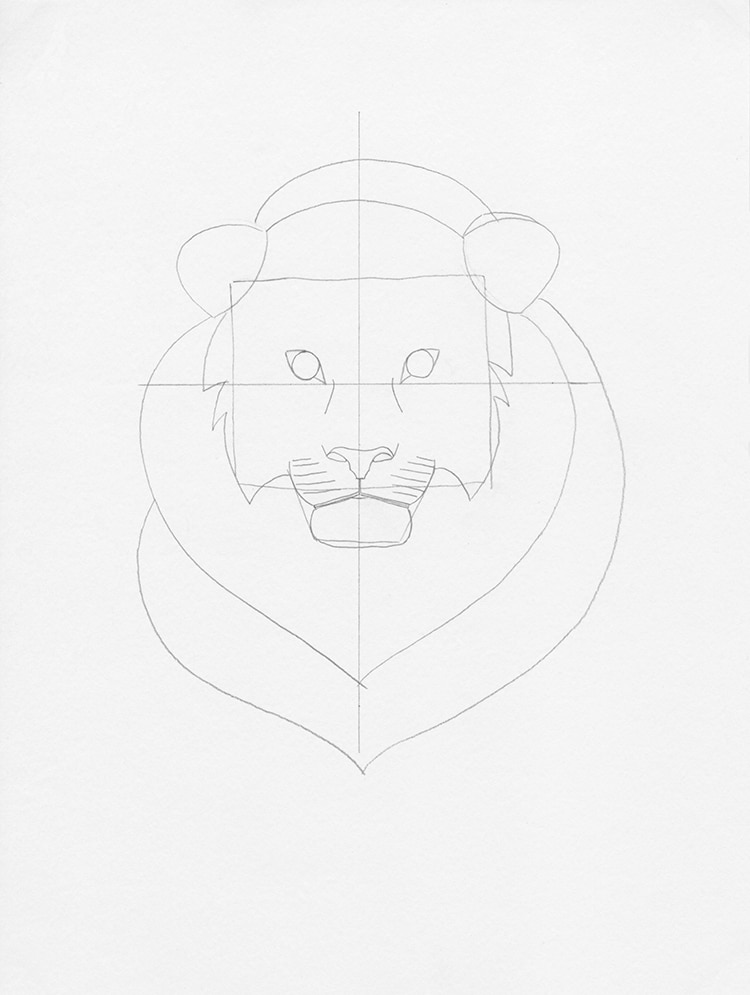
Step 2: Add the mane and ears
Art: Margherita Cole | My Modern Met
After you've centered the caput of the lion in the t-shaped grid, you can add a pair of semi-circular ears to the pinnacle corners of the square. Side by side, nosotros'll sketch the mane. Depending on the age and size of your lion, the mane can look any number of ways. However, for this tutorial, nosotros'll be cartoon a luxurious layered mane.
To do this, lightly draw a heart shape around the lion's head, ending it at a signal a little means below the chin. Wrap a second layer around the first if yous want to draw a thick mane. Recall to round the mane over the lion'south head and ears so it puffs upward at the tiptop.
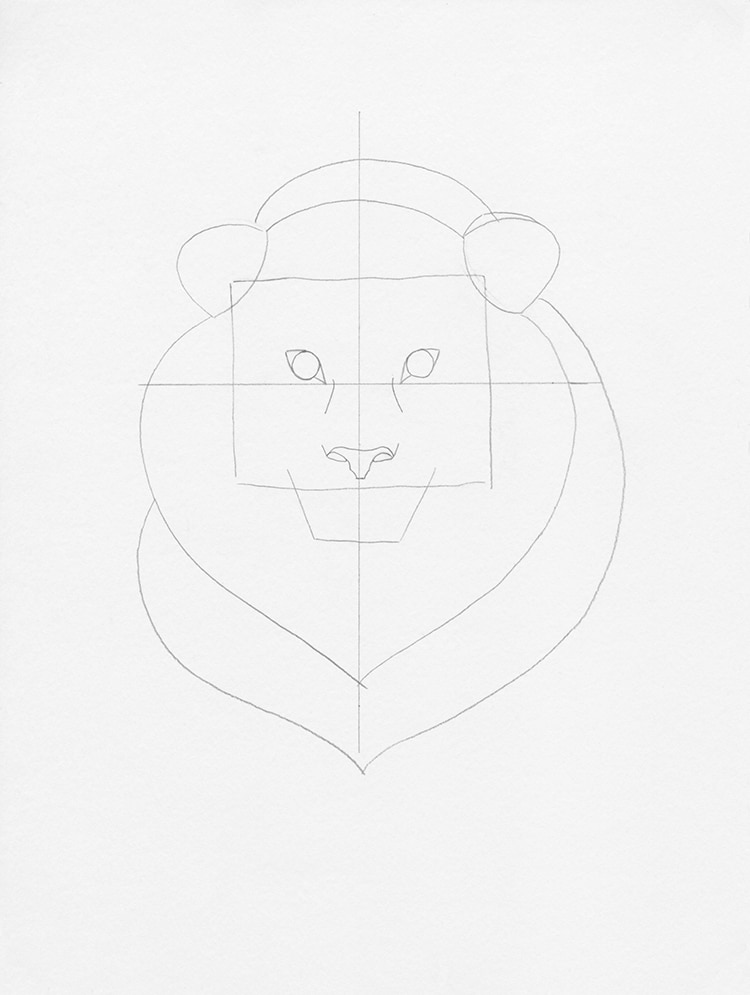
Footstep three: Draw the facial features
Art: Margherita Cole | My Modern Met
Now, using the t-shaped guidelines, begin sketching the panthera leo's facial features. If you lot want your king of beasts'south face to be perfectly symmetrical, this tin be a time-consuming step. Otherwise, just employ your all-time judgment to draw a small circle on either side of the vertical line. Attach two triangles to either circle so that it makes an upturned, almond-shaped heart.
Side by side, add lines on the inside of either eye to indicate the bridge of the olfactory organ. At the lesser of the square—where information technology meets the beginning of the trapezoid shape—add the panthera leo'southward nose. This should be a triangle shape with two pronounced oval nostrils.
Afterward, information technology's time to cleave out the snout from the trapezoid. To practice this, draw a brusque vertical line descending from the base of the olfactory organ. Then, dissever the line in both directions to create the oral fissure. Use these lines as an anchor to round the snout upwards. Lastly, you tin define the chin every bit a soft rectangular shape.
Art: Margherita Cole | My Modern Met
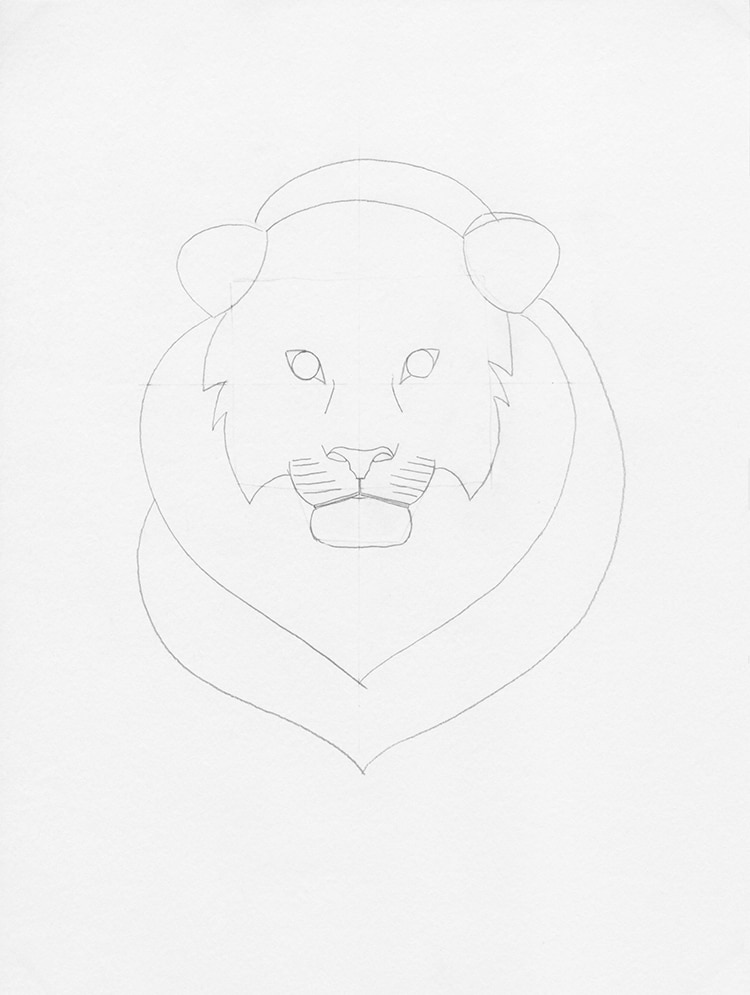
Footstep 4: Erase any initial guidelines
Art: Margherita Cole | My Modernistic Met
At terminal, when you lot're content with the outline, you can start erasing any unnecessary guidelines. If something is still bothering you at this stage, ready the cartoon aside for a flake and come dorsum to it. Once y'all accept a fleck of distance, become ahead and make whatsoever adjustments that you retrieve are needed.
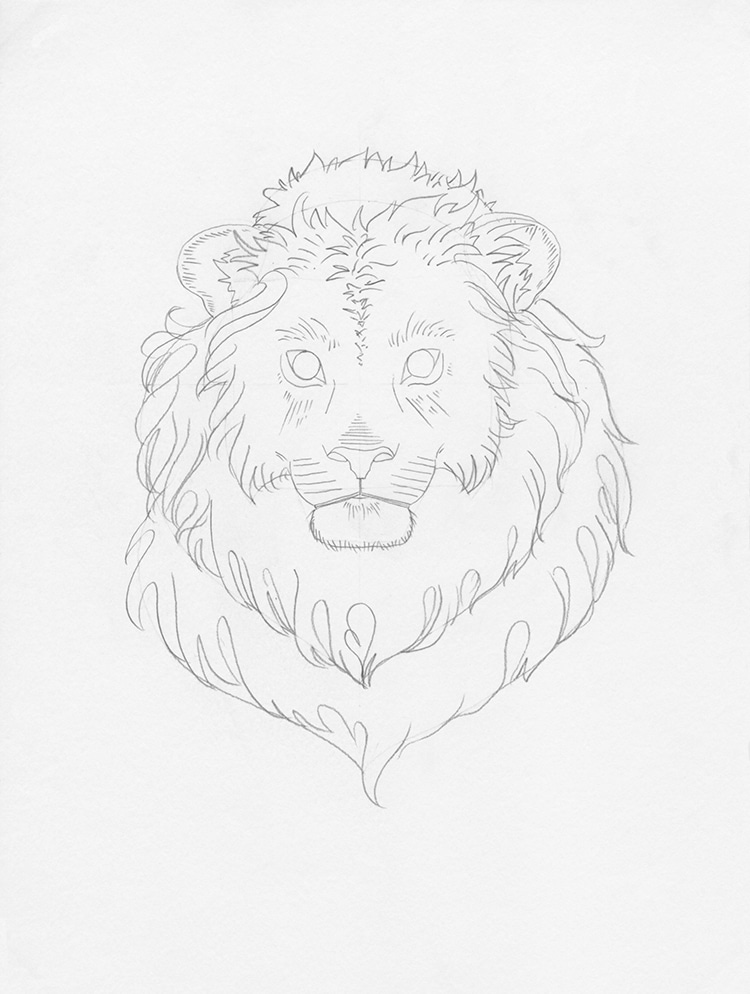
Pace 5: Add texture to the drawing
Art: Margherita Cole | My Modern Met
What is a king of beasts without his mane? Take some fourth dimension at this stage to flesh out your mane sketch with more textured lines. While you're at it, render to the face up and add some finer details to the eyes and nose. Even if you don't want your drawing to be too realistic, adding a few extra lines here and there will add together a lot of depth to the illustration as a whole. Hatching—a technique that involves adding numerous parallel lines—is 1 piece of cake way to practice this.
Next, it'south time to demarcate the black areas of the drawing, which will exist the inside of the optics, the pupils, the lips, nostrils, and inside of the ears.
Art: Margherita Cole | My Modern Met
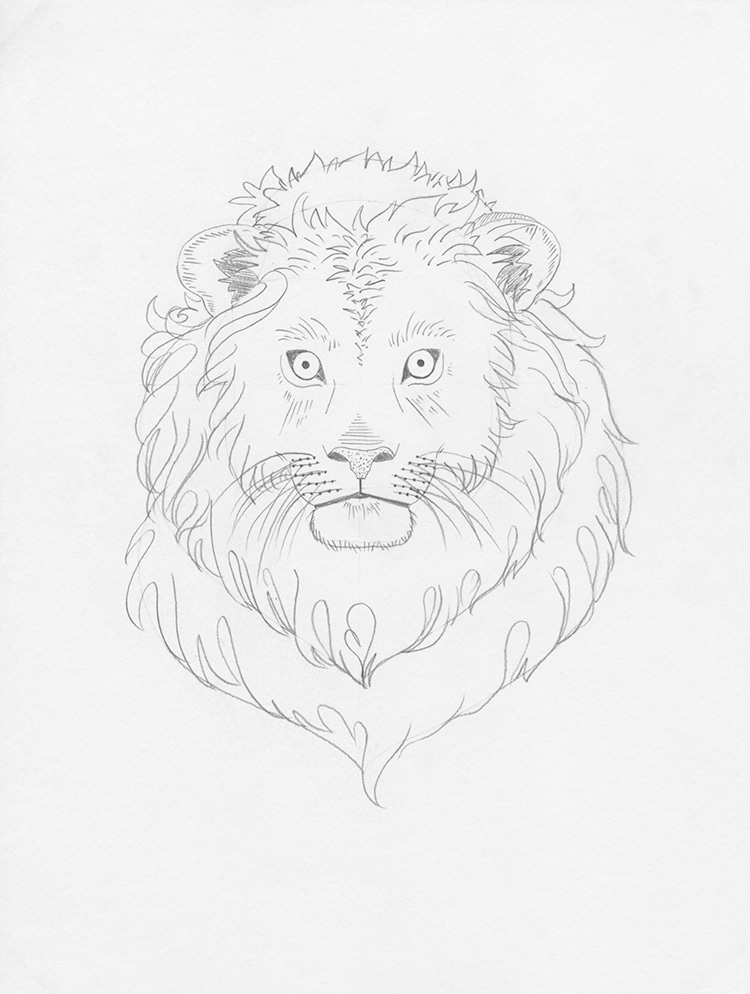
Stride 5: Add decorative elements
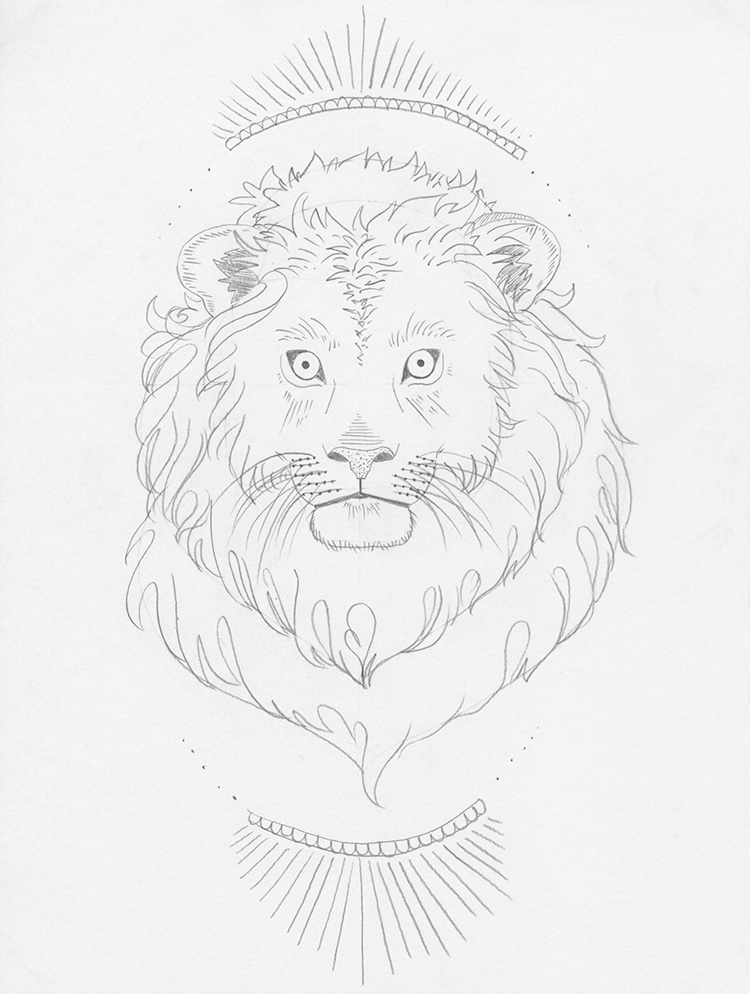
Art: Margherita Cole | My Modern Met
Fifty-fifty if you're only cartoon this lion head for practice, why not complete it with a few actress elements? Yous can brand an easy border past sketching a crescent shape at the top and bottom of your lion. Crown these rounded shapes with fine lines that fan out on either finish.
For those that prefer a graphite drawing, y'all can consider your lion done at this stage. If you want to enhance the analogy with ink, go ahead and continue to Stride 7.
Step 7: Go over the drawing in ink
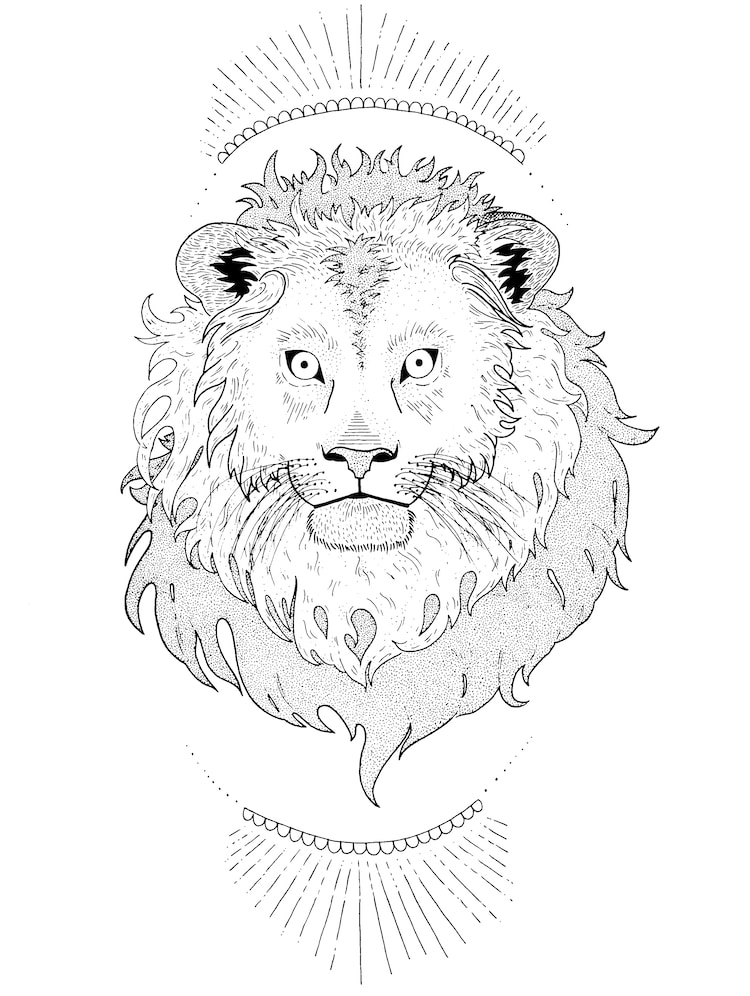
Art: Margherita Cole | My Mod Met
To finish your drawing in ink, pull out your favorite pens, and slowly trace over your final drawing. You can create interesting line variation in your illustration by using an array of unlike pen nibs. Once y'all've gone along all of the graphite lines, consider calculation texture to the king of beasts'due south thick mane. If you lot have fourth dimension and patience, you can use stippling (the procedure of adding numerous dots) to carefully shade the mane.
Finally, once yous've given the ink ample time to dry, erase whatever remaining pencil lines. Congrats! You lot at present have a magnificent portrait of a lion.
Looking for others who love drawing? Join our Art, Design, Photography, and Drawing Club on Facebook!
Related Articles:
Learn How to Draw Koi Fish With This Like shooting fish in a barrel Step-Past-Footstep Guide
Larn How to Draw a Monarch Butterfly in 5 Easy Steps
Learn How to Draw a Wolf Howling at the Moon Stride by Stride

Source: https://mymodernmet.com/how-to-draw-a-lion/
Posted by: cumminstric1997.blogspot.com
0 Response to "How To Draw A Lion Head Step By Step"
Post a Comment